
A good-looking ACP wall can go wrong in a day. The sheet is fine and the finish is lovely, but the wall behind it is damp, the joints are uneven and the cut edges are rough. Then the owner sees every mistake, every day, at eye level.
The good news is that fixing an ACP sheet for decorative wall panels is not difficult when you follow the right order. ACP is light, easy to cut and easy to fix. You only need to prepare the wall, choose the right fixing method and handle the sheet with care.
This guide walks through the full process, from checking the wall to the final clean-up, for designers, contractors, fabricators and homeowners.
Before You Start: Plan the Wall
Most problems begin before the first sheet is cut.
1. Measure and Draw a Layout
Measure the wall height, width and every opening such as switchboards, AC points, shelves and light fittings. Then draw a simple layout showing where each sheet will sit.
Standard ACP sheets come in 1220 × 2440 mm, 1220 × 3050 mm and 1220 × 3660 mm, and you can check the full list on our dimensions and tolerances page. Pick the size that gives the fewest joints and the least waste. On a feature wall, try to place joints where they look planned, such as at a corner, a change of level or a groove line.
2. Choose the Right Thickness
For interior walls, 3 mm is a common starting point, and 4 mm is used when you want a stiffer, flatter surface on a large wall or a busy commercial space. Our guide on 3mm vs 4mm ACP sheets explains how to decide.
3. Match the Finish to the Space
Wood, marble, metallic, brush and solid finishes all work indoors. If you want a natural look, see our wooden ACP sheets. For a premium lobby or showroom, the marble finish ACP sheets are a popular choice. Check the colour sample under the actual lighting of the room before you order.
Tools and Materials You Will Need
| Item | Purpose | Note |
|---|---|---|
| Measuring tape, spirit level, laser level | Marking and alignment | A laser level saves time on long walls |
| Fine-tooth blade or router/CNC | Clean cutting and grooving | Avoid rough, coarse blades |
| Sub-frame material (aluminium, wood or MS) | Fixing base on uneven walls | Needed when the wall is not flat |
| Suitable construction adhesive or silicone | Bonding sheet to a flat wall | Use one made for aluminium and your wall surface |
| Rivets, screws or concealed clips | Mechanical fixing | Choose based on the finish and look |
| Sealant, backer rod | Filling and finishing joints | Match the sheet colour where needed |
| Gloves, soft cloth, edge file | Handling and finishing | Keep surfaces clean |
Step 1: Check and Prepare the Wall
The wall decides how long your panels will look good, so do not skip this step.
- Make sure it is dry. Damp walls, leaking pipes or fresh plaster can damage the bond and cause marks. Let new plaster cure fully.
- Check flatness. Hold a long straight edge or level against the wall. If the surface is very uneven, use a sub-frame instead of sticking directly.
- Clean it. Remove dust, loose paint, oil and old wallpaper. A dusty wall is the most common reason adhesive fails.
- Mark services. Note where wiring, pipes and switch boxes run, so you never drill through them.
Step 2: Pick the Fixing Method
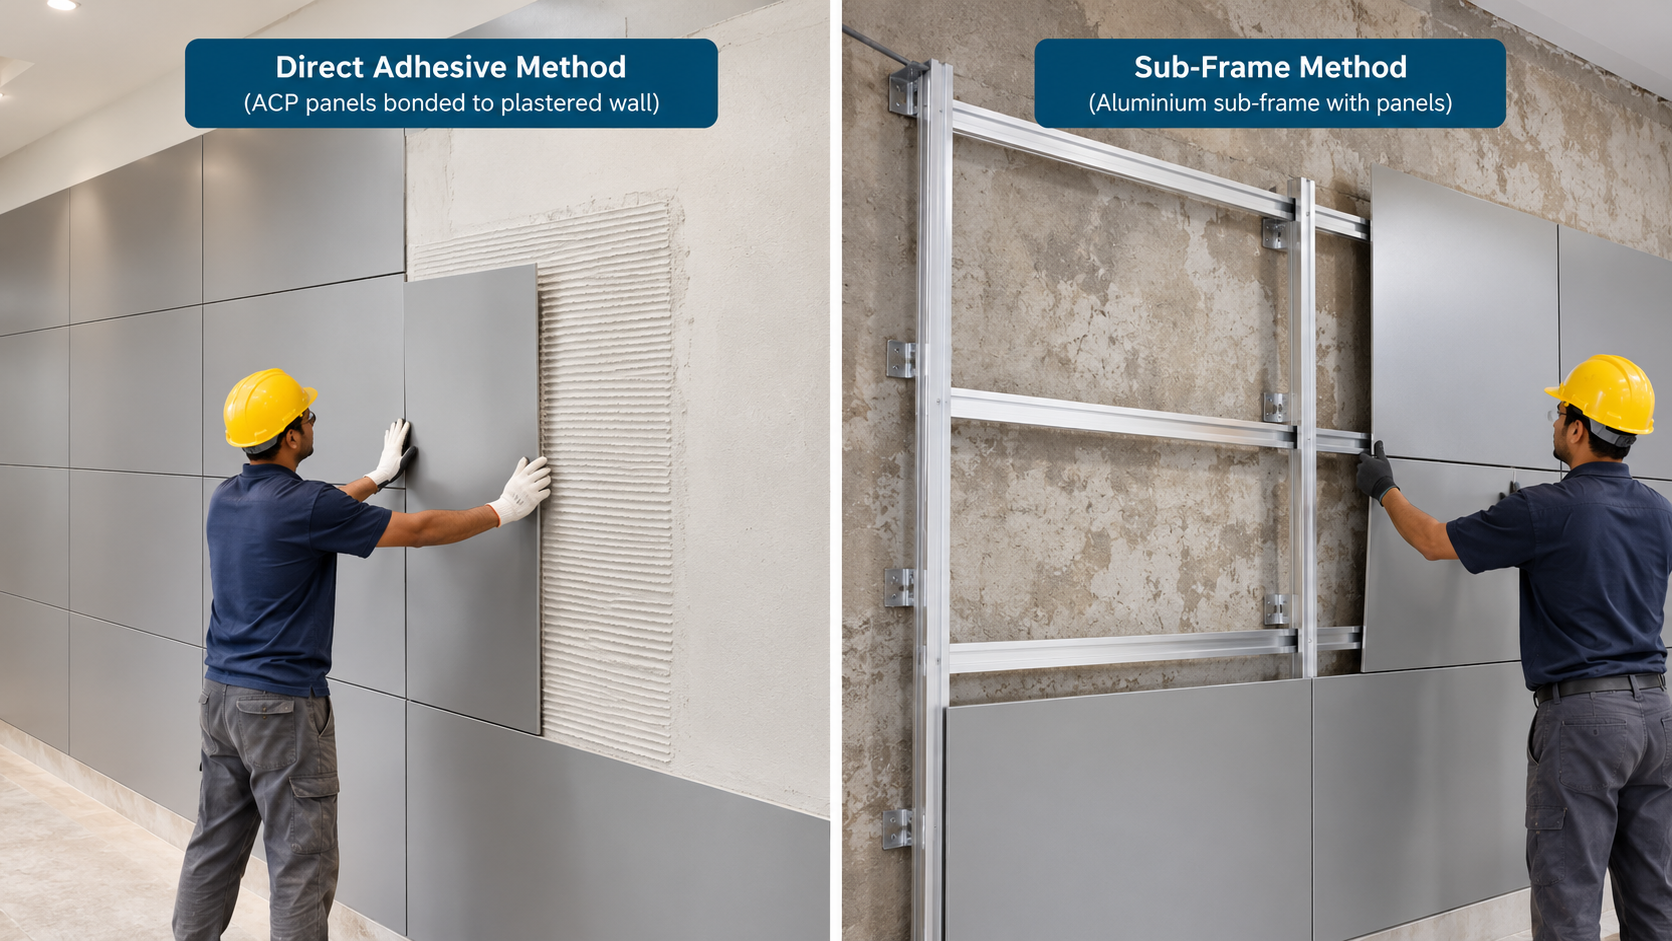
There are two common ways to fix ACP on an interior wall. The right one depends on the wall condition and the look you want.
| Method | Best For | Pros | Watch Out For |
|---|---|---|---|
| Direct adhesive fixing | Flat, dry, well-prepared walls | Clean look, no visible screws | Hard to remove later, needs good surface prep |
| Sub-frame fixing | Uneven walls, larger panels, commercial spaces | Corrects uneven walls, allows air gap and easy replacement | Takes more time and slightly reduces room depth |
If unsure, sub-frame fixing is safer for most commercial walls. A small, flat feature wall at home often needs only adhesive.
Step 3: Cut and Groove the Sheets
ACP cuts easily, but a rough edge shows straight away on a wall.
- Keep the protective film on while you cut. It prevents scratches and dust marks. Our protective film page explains why this film matters.
- Mark clearly with a soft pencil or marker on the film, not on the sheet.
- Cut with a fine-tooth blade or a router. Support the sheet fully on both sides so it does not flex or crack the coating.
- Cut openings for switchboards and lights slightly larger than the part, so the sheet does not press on it.
- File the edges lightly if they feel sharp.
If you plan V-grooves, bends or folded edges for a premium look, read our guide on ACP bending and grooving first. Groove depth matters, because cutting too deep weakens the panel and can show a crack in the finish later.
Step 4: Fix the Panels on the Wall
Direct Adhesive Fixing
- Apply the adhesive in vertical lines or small dabs, not in one big patch, so air can escape and the sheet sits flat.
- Press the sheet firmly and check alignment with a level.
- Hold it in place with temporary supports until the adhesive sets, following the product instructions.
Sub-Frame Fixing
- Fix the frame first, with vertical members spaced to match the sheet width and support the edges.
- Check the frame with a level before mounting any sheet. A crooked frame makes crooked panels.
- Fix the sheets with rivets, screws or concealed clips, working from one side to the other so nothing gets stressed.
Leave Proper Joint Gaps
Never push sheets tightly against each other. Leave a small, even gap between panels, commonly a few millimetres. This gap allows for small movement and gives a clean shadow line. Fill or finish it with a suitable sealant or leave it open as a design feature. Always follow your fabricator’s detail for the exact size.
Step 5: Finish Edges, Corners and Joints
- Use trims or return edges at corners so the raw core is never visible.
- Run a thin, steady line of sealant along joints if needed, and wipe extra at once.
- Fit switch plates neatly over the cut openings.
- Check alignment, gaps and dents before you remove the film.
Step 6: Remove the Film and Clean
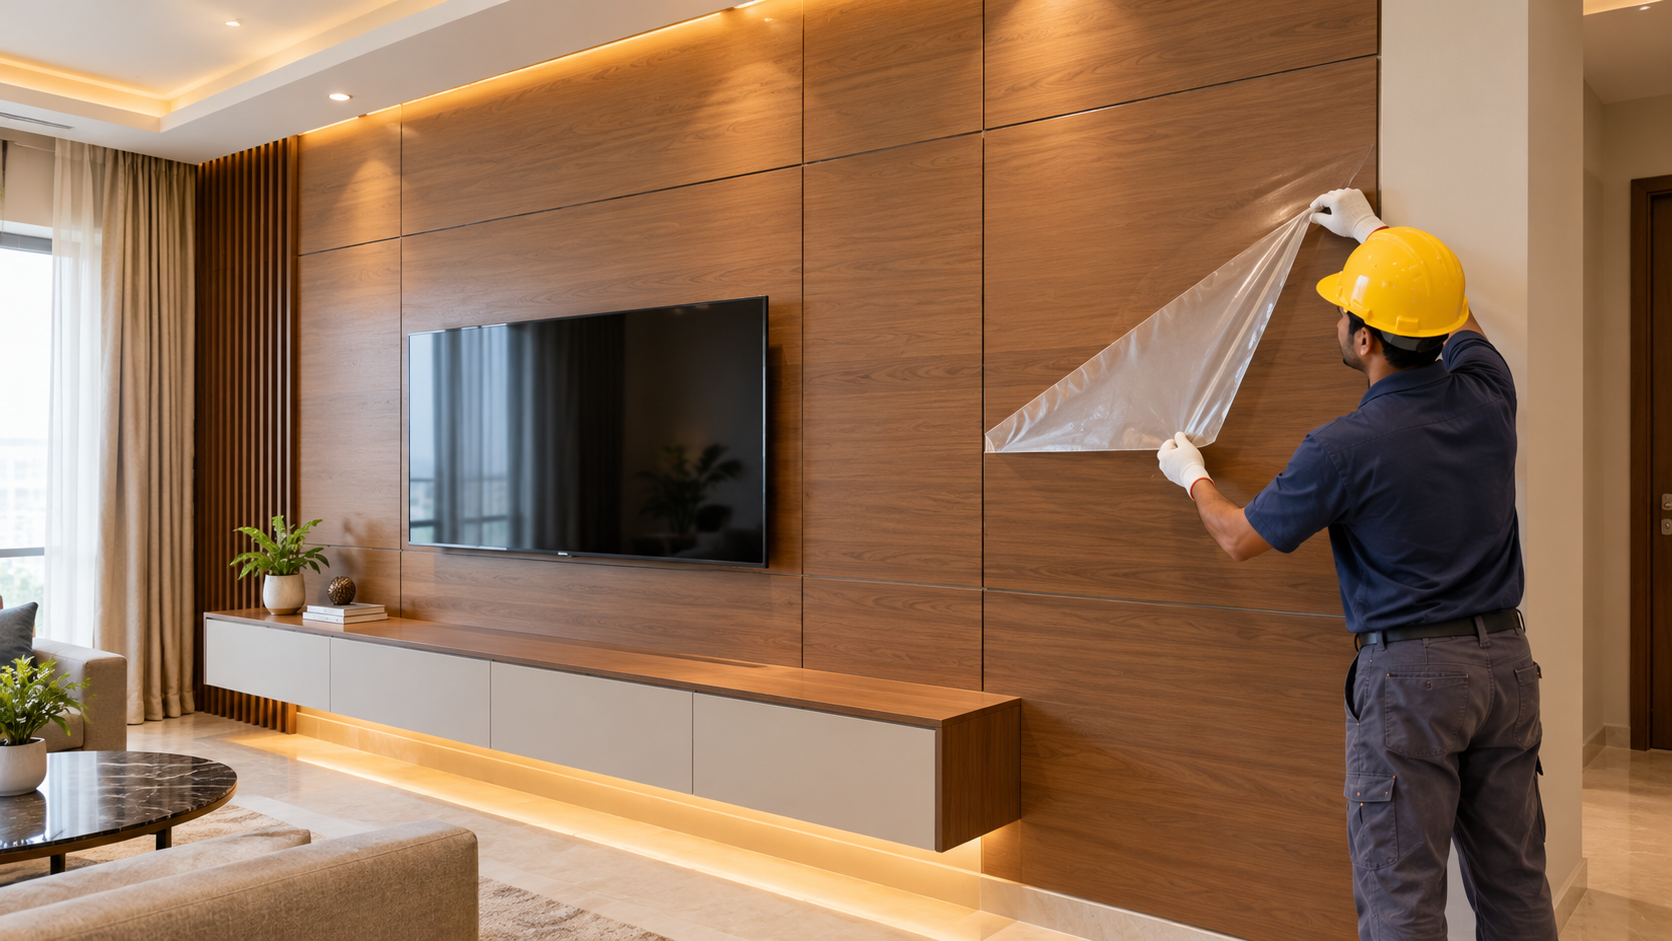
Peel off the protective film slowly after all work around the wall is done, including painting, drilling and ceiling work. Leaving it on for too long, especially in sun or heat, can make it harder to remove.
Wipe the surface with a soft, damp cloth. For regular care, follow our cleaning method and these tips to maintain and clean ACP sheets.
Safety Points for Interior Walls
- Fire: Use FR grade panels where your project, building or client requires it. Our FR grade ACP sheets page explains the mineral core option.
- Heat: Keep ACP away from direct flames and very hot appliances. In kitchens, check our guide on ACP sheet for kitchen before fixing.
- Electrical: Never drill or fix without confirming where the wiring runs.
- Lighting: Keep LED strips and spotlights at a safe distance and avoid trapped heat behind panels.
Common Installation Problems and Fixes
| Problem | Likely Cause | How to Avoid It |
|---|---|---|
| Panels look wavy | Uneven wall or poor adhesive coverage | Use a sub-frame or even adhesive lines |
| Edges lift after some weeks | Dusty or damp wall, wrong adhesive | Clean and dry the wall, use a suitable adhesive |
| Visible scratches | Film removed too early | Keep the film on until work ends |
| Uneven joint lines | No layout drawing | Plan joints and use spacers |
| Cracked coating at grooves | Groove too deep or rough tool | Follow groove depth guidance |
| Shade difference between sheets | Mixed batches | Order all sheets together, check batch numbers |
When to Call a Professional
A small, flat feature wall can be a DIY job if you are confident with tools. For large areas, curved walls, high ceilings or commercial spaces, hire an experienced installer. Our post on technical knowledge for ACP installation helps you ask better questions.